You’ve gotten to know your new home on wheels, and now it’s time to hit the road! As first-time RV renters, there are a few things that will make your trip much easier. And believe me, we learned some of them the hard way! Fasten your seatbelt, it’s going to be a heck of a ride!
Contents
RV Trip: Set up Your RV
The first thing you’ll want to do is load up all your belongings and supplies into the RV. Take the time to put groceries in the refrigerator, supplies in the cupboards and drawers, bedding on the beds, and extras in the storage. You might be tempted to wait until you arrive at your first campsite, but placing items inside the RV without making sure they are properly stored will lead you to your first big issue. (see next section)
RV Trip: Secure the Hatch
RV 101: We learned this lesson the hard way – make sure everything is secured before taking off! Anything and everything will roll out of cupboards not shut tightly, shift inside the refrigerator, or find their way into an area they should be in. Fold up the awning, bring in the slide-outs, and secure the hatch!
While driving up to Flagstaff, we hit a tiny bump and heard a crash from the back. Low and behold, a container of salsa fell from the cupboard and exploded all over the floor – the RV smelled like salsa for days. Lesson learned. From that moment on, we made sure everything was safely secured in and out of the fridge before hitting the road.
Tip: Always do a final check to make sure all cords, hoses, and latches are put away and closed securely on the outside of the RV as well before you leave.
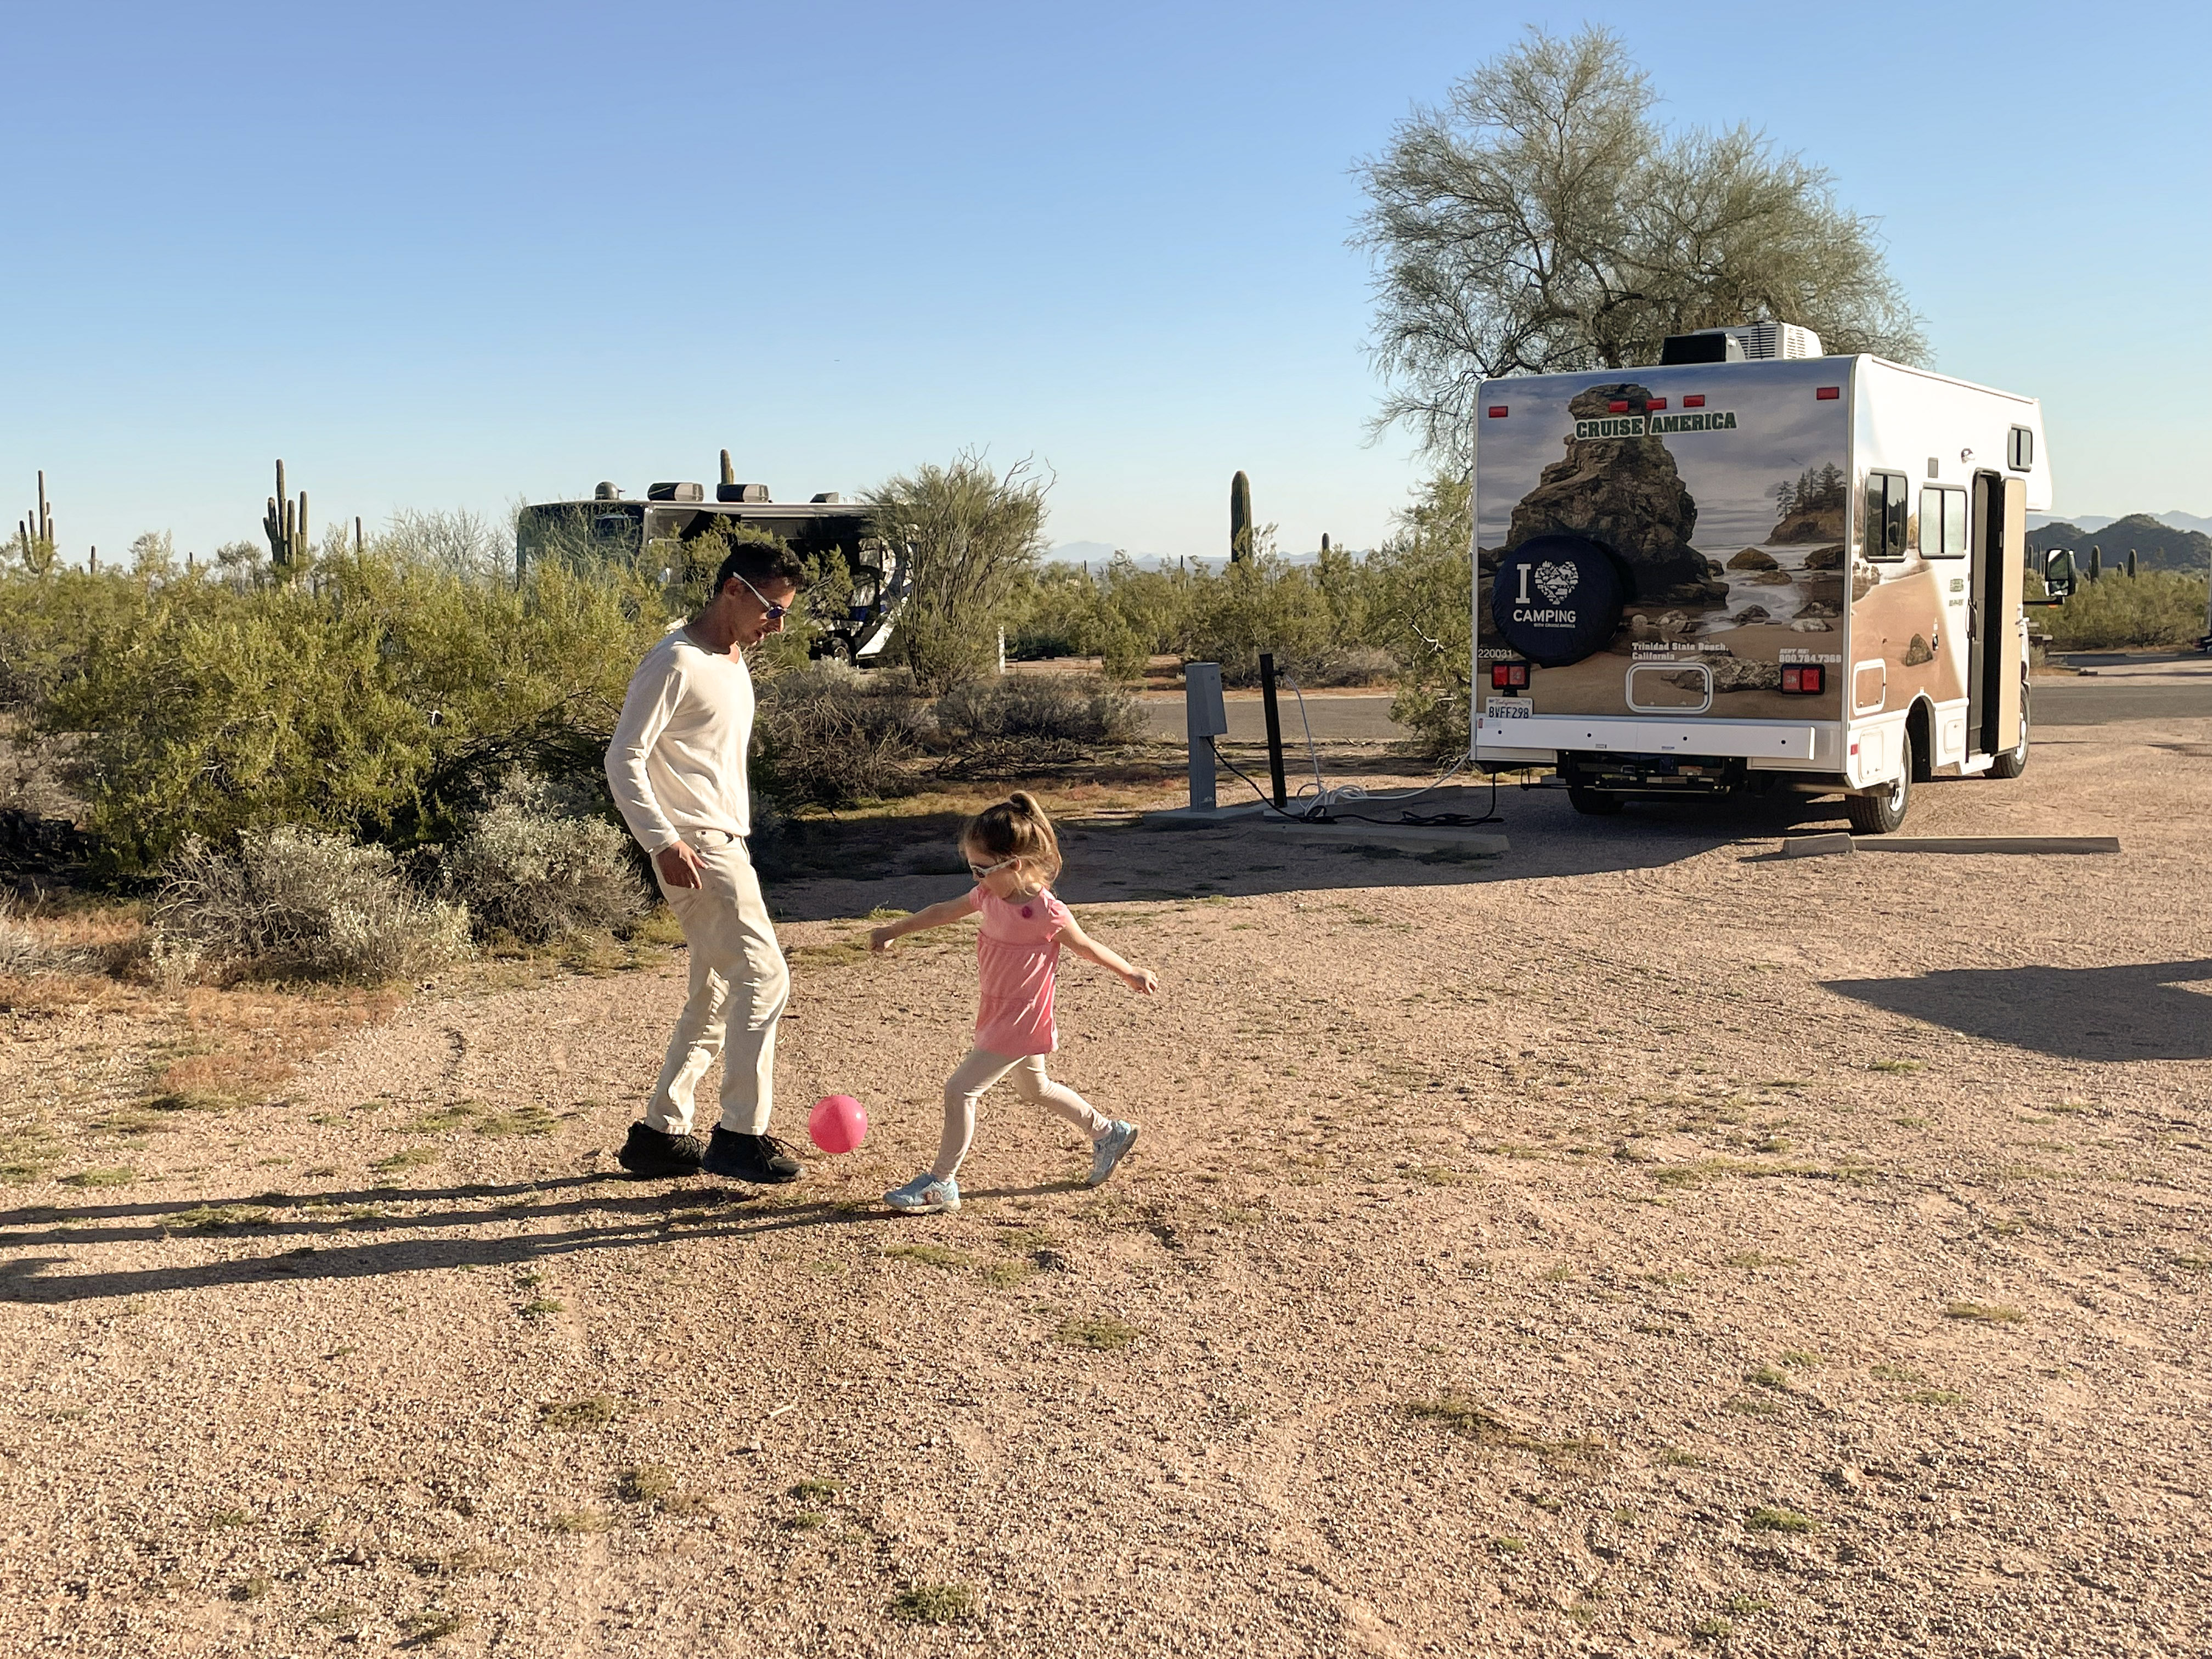
RV Trip: Campground Arrival
Unless you will be boondocking, you should have already reserved your campground space in advance, especially in high-traveled areas. The first thing you’ll do when you arrive is check in with the campground. They will provide you with instructions and a map of your site.
Once you arrive, you’ll want to immediately hook up your electricity and water (and sewer if it’s available on-site). Most rental companies have videos or how-to instructions on how to hook up if you need a reminder. CruiseAmerica has an app that you can download, which has set up videos to get you started.
If you have any slide-outs or an awning to open, you’ll want to open them up when you arrive as well. And depending on what type of RV you have, leveling it might be a requirement as well.
Tip: Before entering your campsite, located which side your hoses are situated on. You’ll want to back in accordingly, so the hoses are on the side of your RV.
Electric Hookup
If you’re planning on having power in your RV (like most of us are), the first thing is hooking up your electricity. Not all RVs are exactly the same, but the procedure is pretty standard for most.
First, you’ll locate your electric cable and plug it into the electric outlet on your site. Make sure the power is off before you plug it in, then turn it on once you’ve plugged in.
Tip: Be aware of the voltage your electricity comes in and choose the appropriate outlet.
Water Hookup
Next, you’ll want to hook up your water. Take out your hose and attach one side to the water faucet and the other to your city water valve on the RV. Check for any leaks from either side of the hose once turning the water on. Most city faucets do not need to be turned on to full capacity and will be left on throughout your stay at the campsite.
Dumping Station
Out of all the hookups, dumping can be the most complicated. Again, depending on your RV, procedures might vary from model to model. For the Cruise America Compact RV, the system is quite simple.
First, locate, release and connect the dump hose to the sewer connection on your RV. Once it’s secured, you’ll then take the other end and place it in the dump station hole. To dump the waste, pull out the black lever until all the waste has been released, and then pull out the grey (water) lever to release all the water. Popper scooper in action!
TIP: Bring disposable gloves with you to use while dumping.
Explore the Campground
After you’ve completely connected and opened your RV, it’s time to get out and explore the campground. It’s always good to know where the bathrooms and showers are located (in case you need them at any point) and any other amenities it has. If your site has a campfire pit, you can collect firewood and prepare for nightfall. It’s also a good idea to discuss the campground limits with your kids, especially with little ones.
RV Trip: Getting a Good Night Sleep
The first night sleeping in your RV rental might be a strange one. Depending on where you’re camped, you might hear new sounds and have to adjust to new sleeping arrangements. And just being in new surroundings could keep you up.
During our first night in the RV, we heard coyotes and donkeys all night, which was an interesting change. We also quickly learned that the cushions weren’t as comfy as our bed, so we ended up putting the 2nd comforter underneath the sheet for a cozier mattress. Best sleeping decision we made!
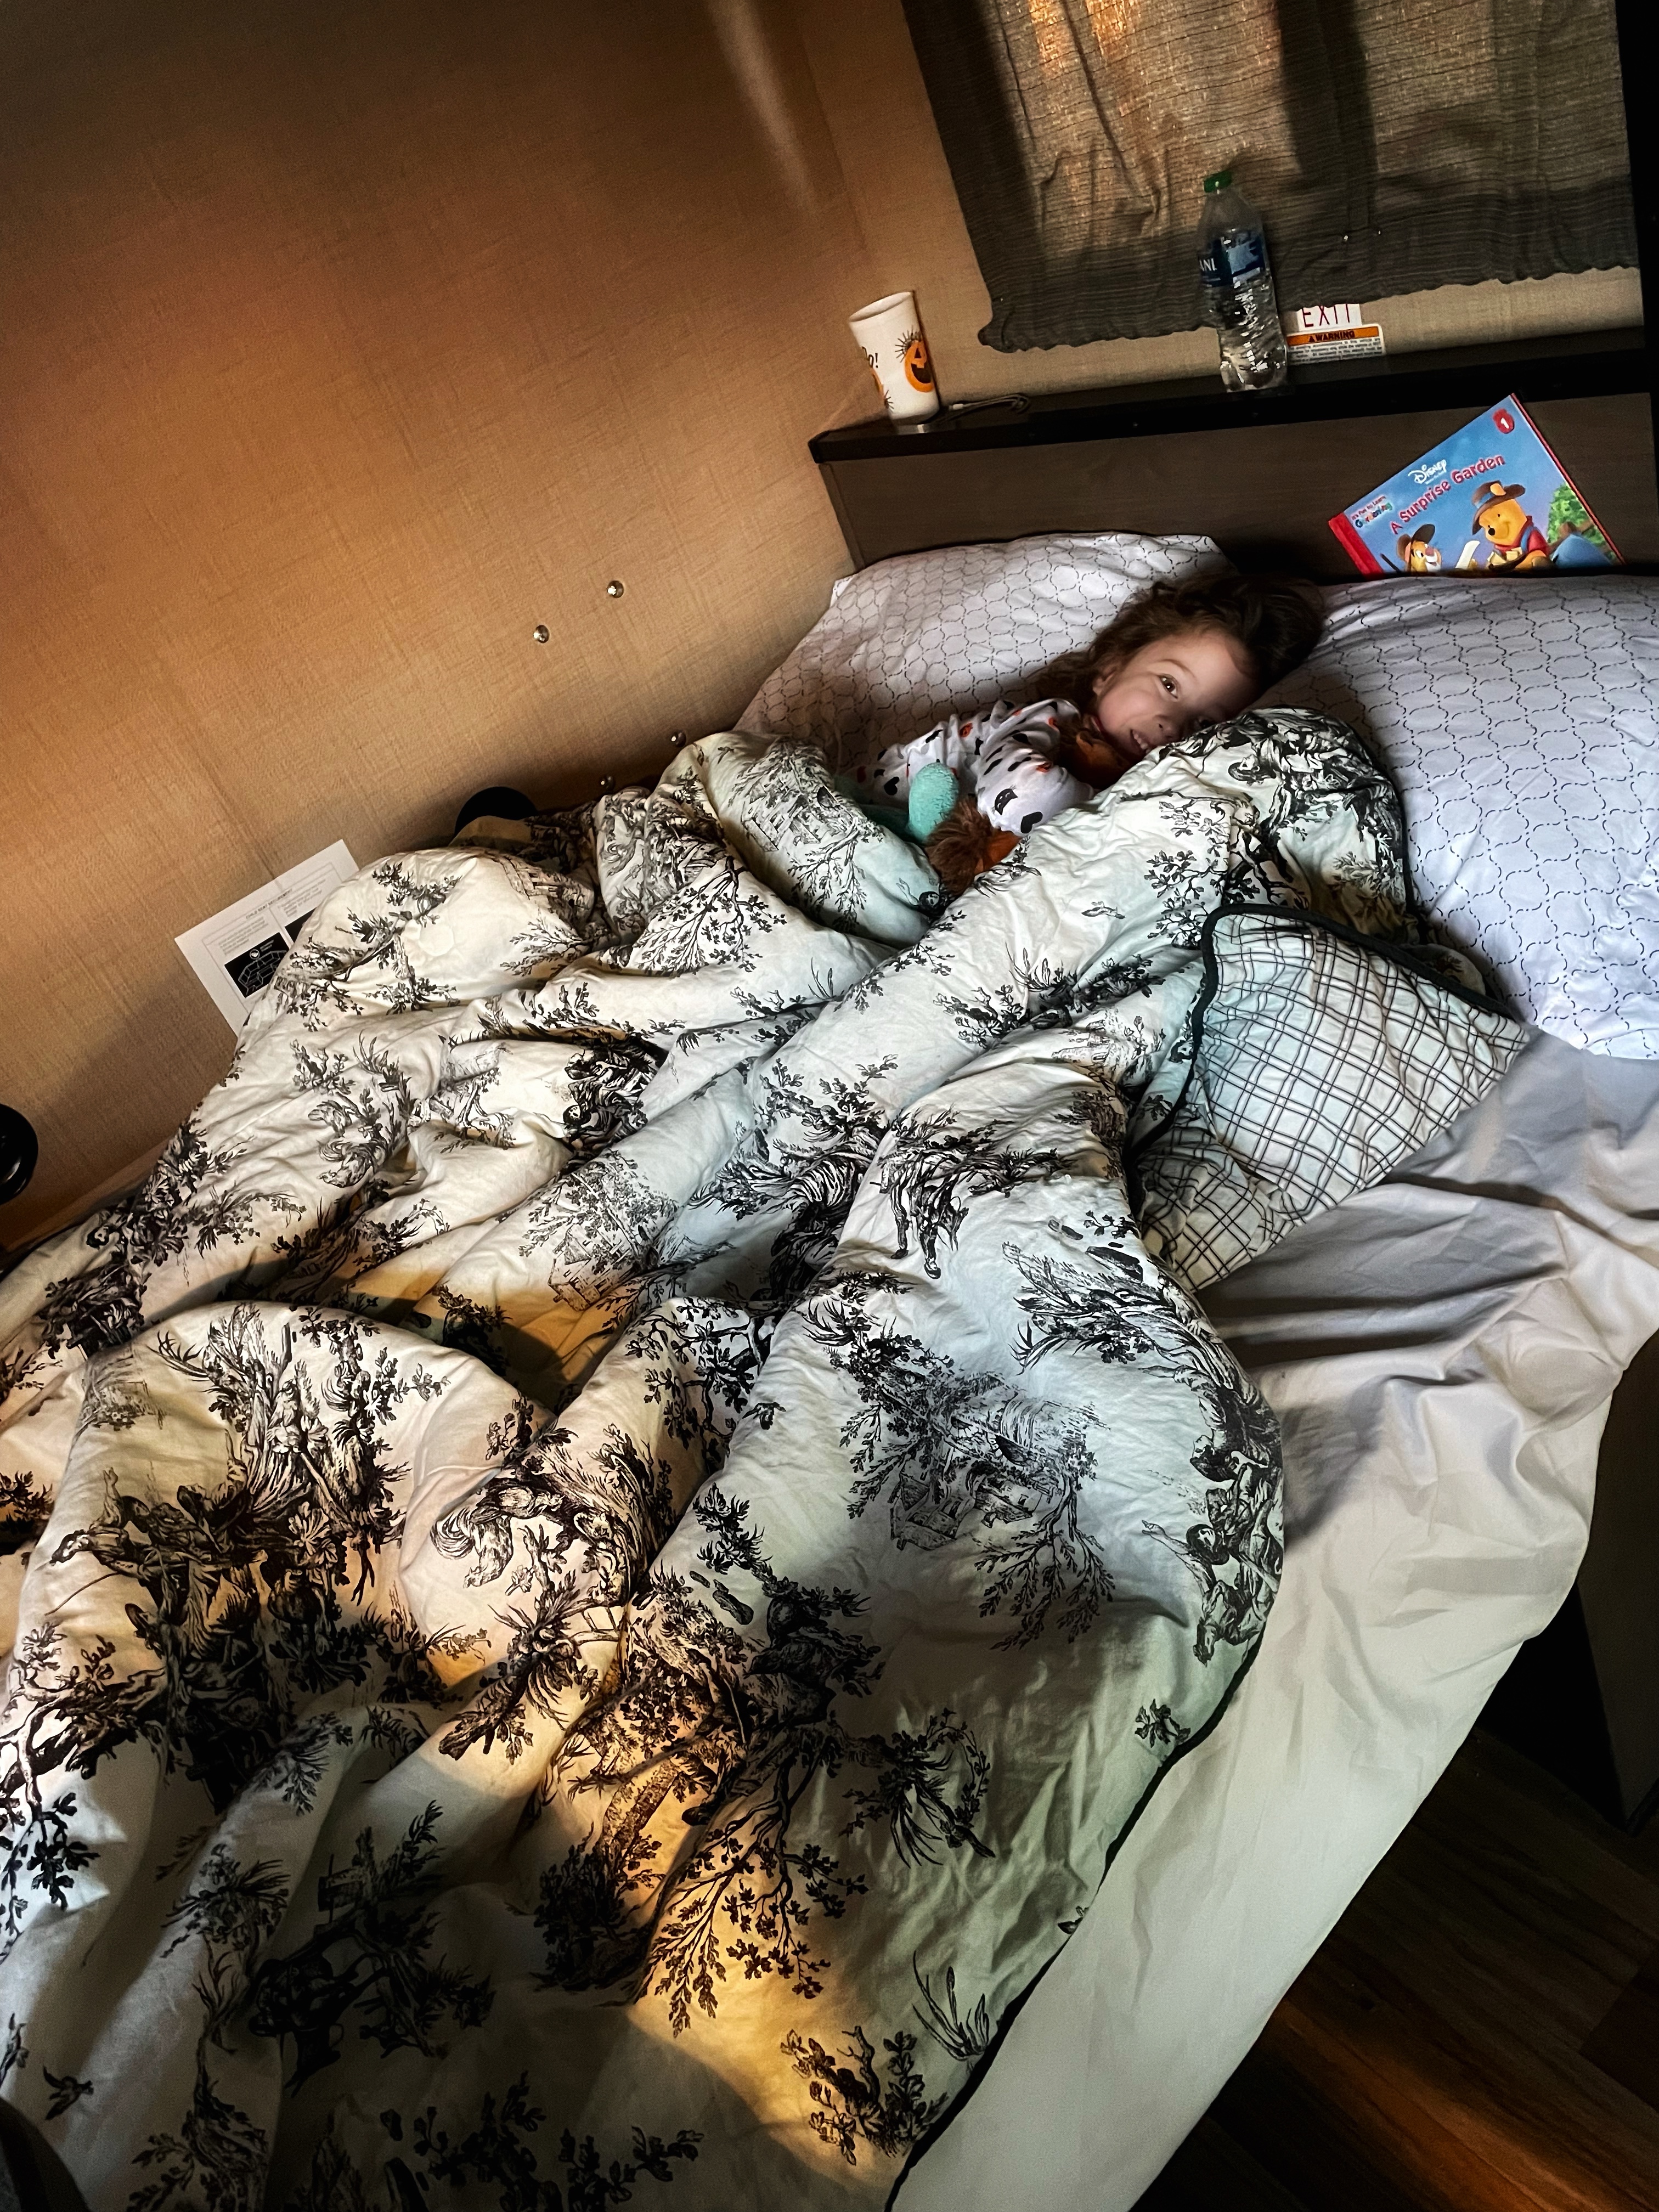
Here are a few tips to help you get those all-important zzzzz’s:
- Bring earplugs and an eye mask for sensitive sleepers
- Make sure to have plenty of warm blankets and sheets for cold nights
- Close the shades or curtains to avoid moon or sunlight
- With young kids, let them bring their favorite stuffed animal or snuggly for that extra comfort of home
YOU GOT THIS!
Great tips
thank you! 🙂
Pingback: 4 Epic Arizona Campgrounds for Your Next Camping/RV Trip
Pingback: How to Keep Kids Entertained: 11 Awesome Kids Activities for an RV Trip
Pingback: 4 Unbelievable National Parks in Arizona That Are Must-Sees!